
My new Note-taking App: Logseq
Published:
Note-taking app, finally I found one that I love!
Logseq: https://logseq.com/
1. The Core Philosophy: “Capture First, Organize Later”
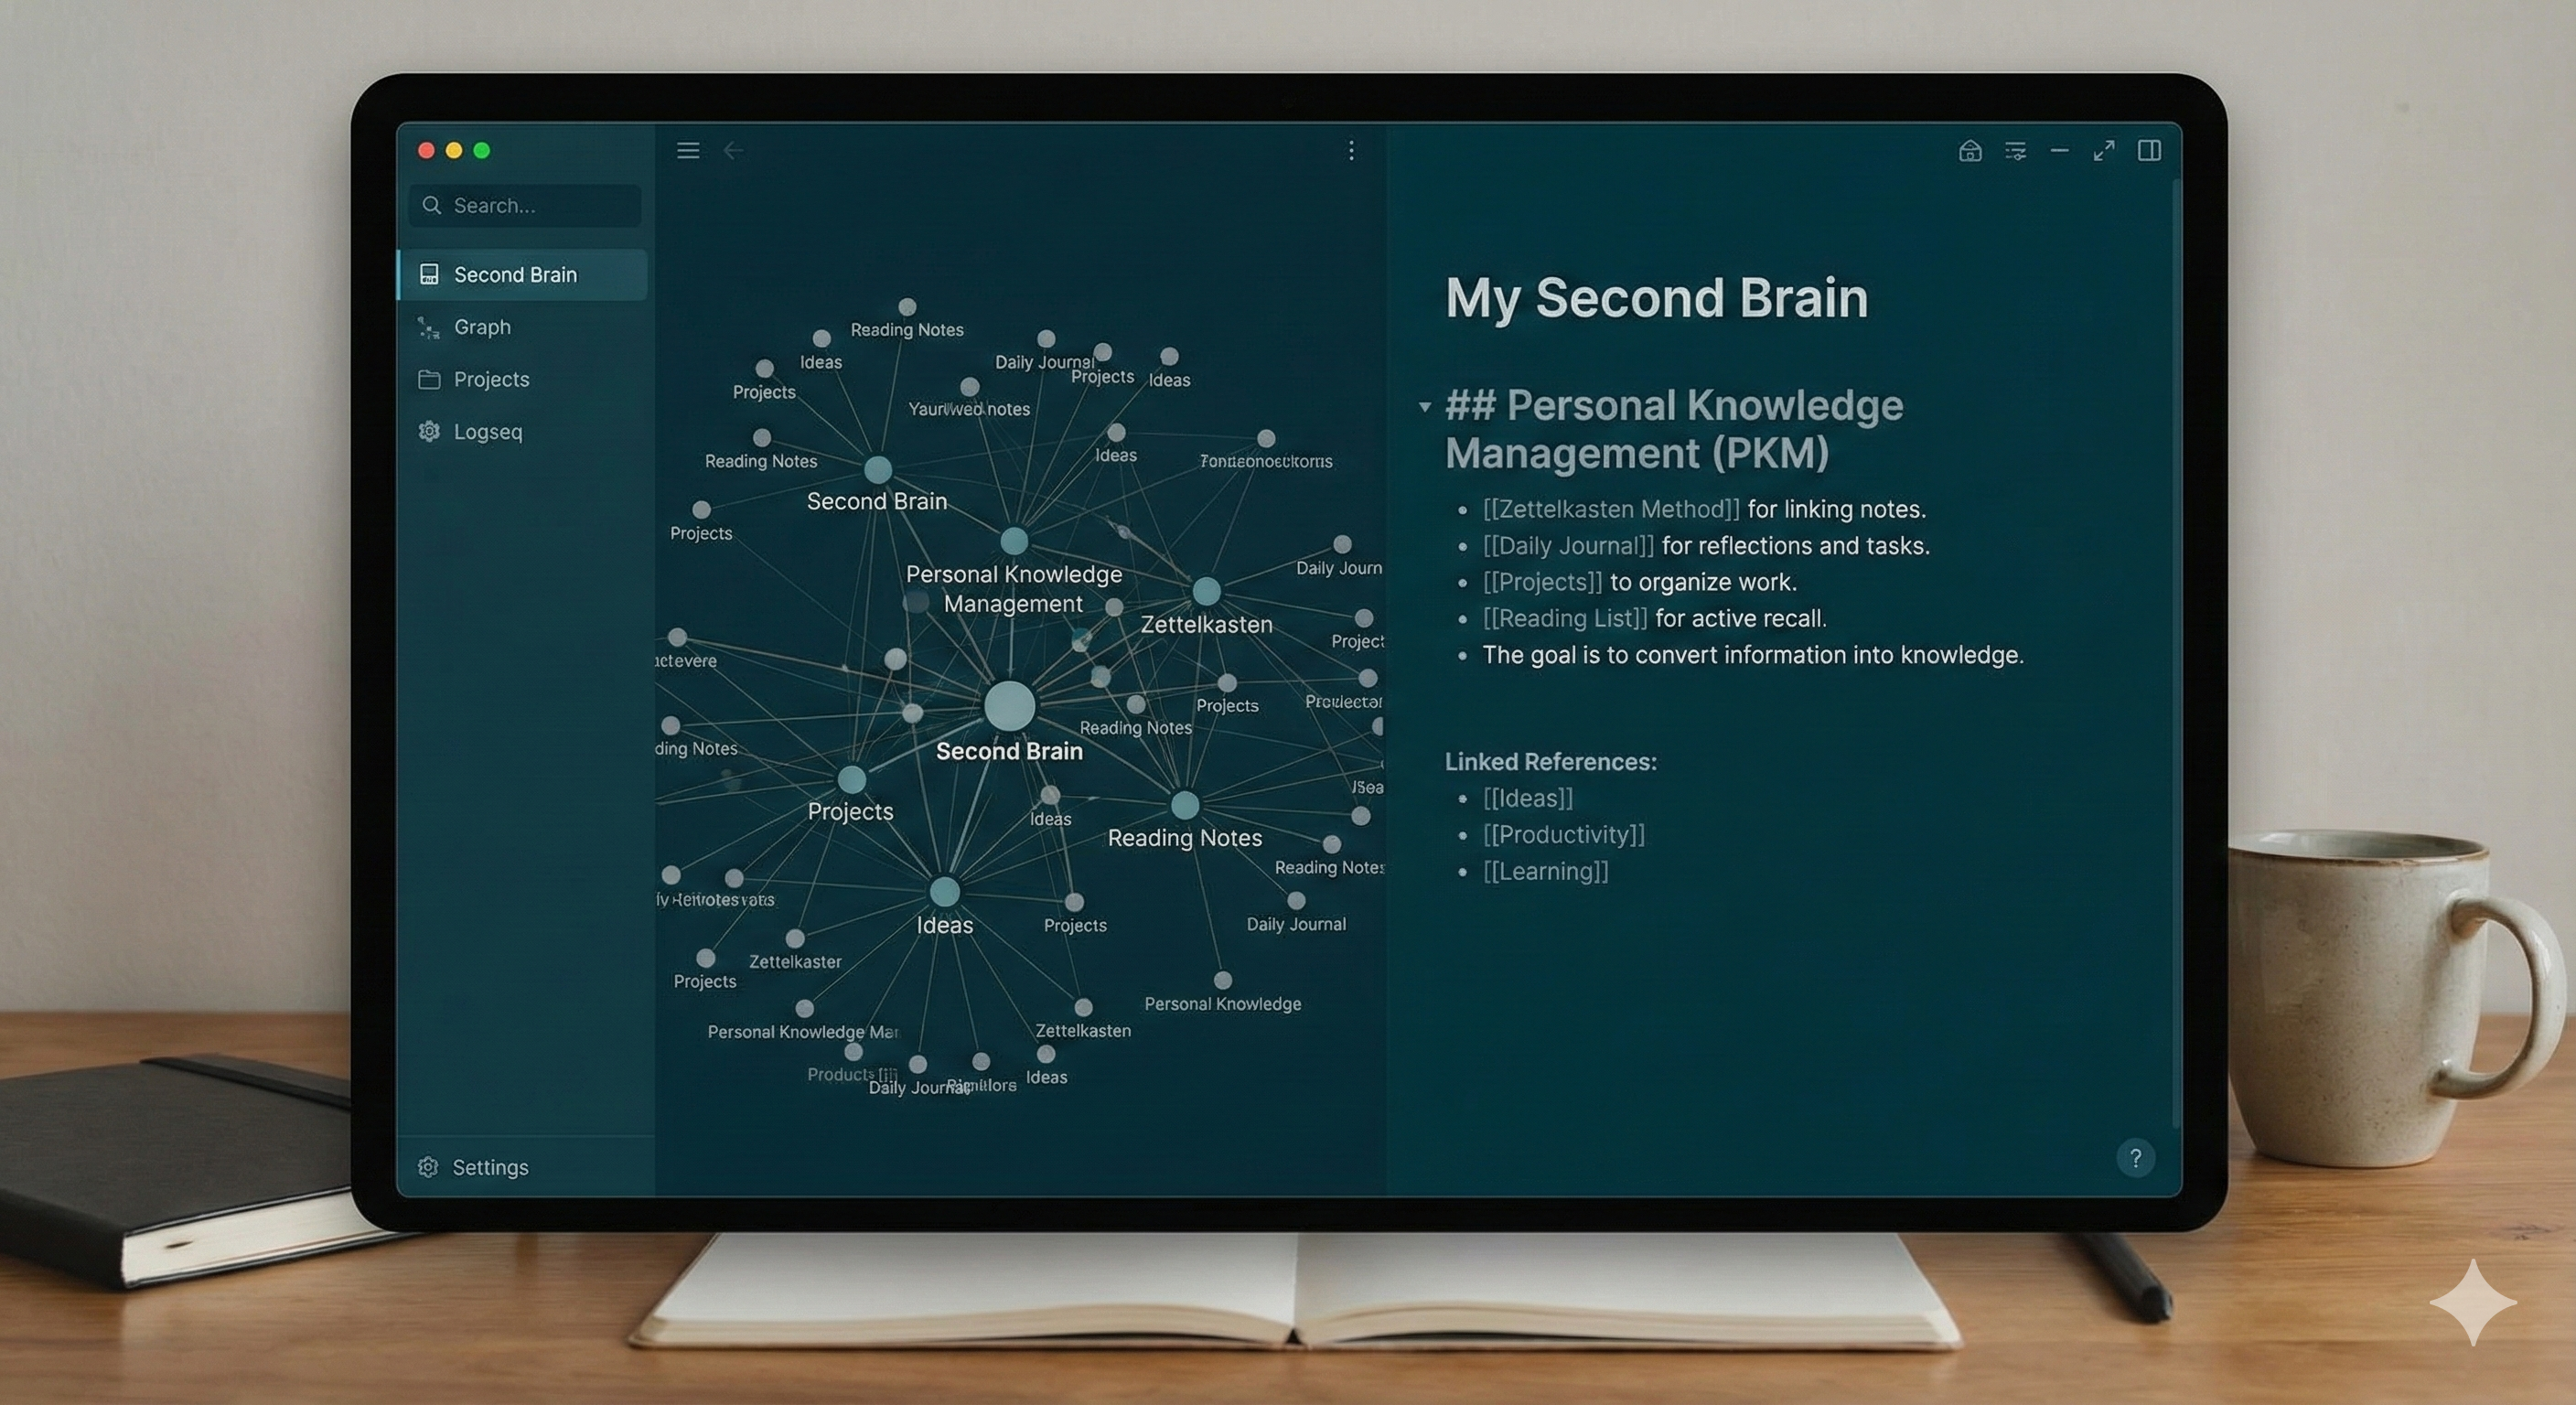
- Logseq is an outliner. This means every note is a bullet point (called a Block). It is also networked, meaning notes are connected via links rather than stacked in folders.
Key Features at a Glance
- Local Ownership: Your data lives on your computer as simple text files (.md).
- The Journal: The default daily landing page.
- Bi-directional Linking: Connecting page A to page B automatically links B back to A.
2. The Interface: Your Daily Workspace
- When you open Logseq, you aren’t greeted by a blank file structure. You are greeted by The Journals.
The Journals Page
Think of this as your daily scratchpad or “inbox.” Every day, Logseq creates a new page with today’s date.
- Don’t worry about where to put a note. Just write it on today’s Journal page.
- Indent to organize. Use the Tab key to nest thoughts under a parent block.
3. How to Use Logseq (The Basics)
A. Writing in Blocks
Everything in Logseq is a “Block.”
- Type your thought.
- Press Enter to create a new block.
- Press Tab to indent (create a child block) or Shift + Tab to un-indent.
B. The Magic of Linking [[ ]]
This is the most important feature. If you are writing about a meeting with a client, do not just type the name. Link it.
- How to do it: Type two square brackets [[ and type the name of the topic, person, or project.
- Example: “Had a great call with [[John Smith]] regarding the [[Marketing Project]].”
Why do this? If you click on the [[Marketing Project]] page later, you will see every single time you mentioned that project in your daily Journals, automatically collected for you. This is called a Backlink.
C. Task Management
You can track to-dos directly in your notes without switching apps.
- Create a Task: Type TODO or LATER at the start of a block.
- Complete a Task: Click the checkbox or change the text to DONE.
4. A Simple Day-One Workflow
If you are unsure how to start, follow this loop:
- Open Logseq to the Journals page.
- Capture: specific items as they happen.
- Example: “9:00 AM - Started research for [[History Essay]].”
- Link: Create a page for the topic.
- Action: Click [[History Essay]].
- Refine: Inside the new page, add specific permanent notes, images, or PDFs related to that essay.
- Review: At the end of the week, look at your Graph View (click “Graph View” in the sidebar) to see how your constellations of thoughts are growing.
5. Why Logseq Wins on Privacy
Unlike cloud-based tools (like Notion or Roam Research), Logseq reads files directly from your hard drive.
- You own your data. If Logseq disappears tomorrow, you still have all your notes as readable text files.
- It works offline. No internet connection is required.
Summary Checklist for Beginners
- Download Logseq from logseq.com.
- Choose a folder on your computer to store your “Graph” (your notes).
- Write your first Journal entry.
- Create your first [[Link]].
- Check the “Linked References” at the bottom of a page.